Do it yourself: 5 DIY ideas for temporary tattoos
You’ve ordered temporary tattoos from Bernard Forever, but you’ve already run out of space on your skin to apply them? Are you a fan of handicrafts and love to take things out of their original use? If the answer to these questions is yes, we strongly advise you to read this article.
Even if you’re not a fan of handicrafts, but your temporary tattoos are close to their expiration date or you’d like to have them as decoration, this article is for you.
We promise, the DIYs we offer are super simple and affordable, requiring only everyday objects and, of course, temporary tattoos.
So get your 10 fingers and a little patience and discover our 5 DIY ideas with your temporary tattoos. 💪
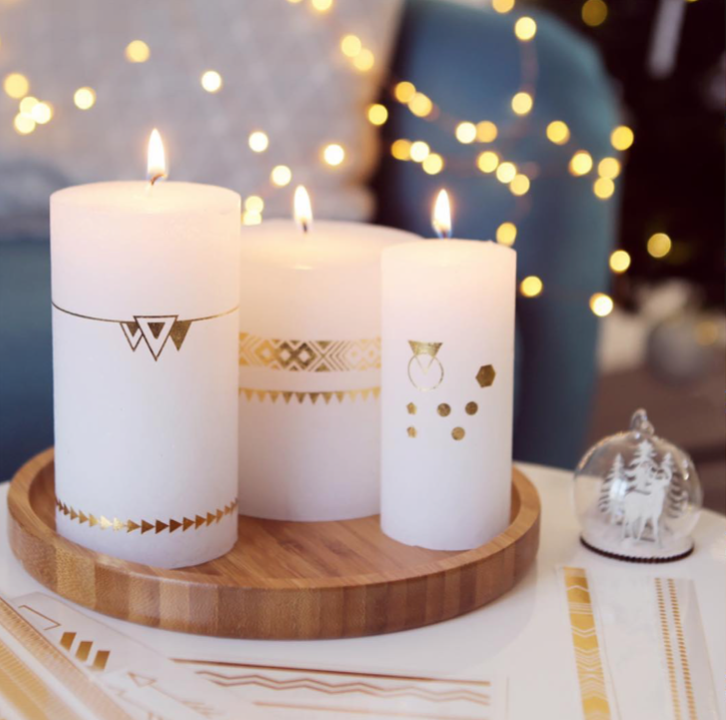
1- The tattoo candle
The first do it yourself project we’re proposing is personalized candles. If you’re one of those people who love burning candles to create a cocooning atmosphere in your home, this DIY is totally for you. You’ll be able to find that ambiance you love so much with candles you’ve personalized yourself with our temporary tattoos. What’s more, your new candles can also be used to decorate your home.
To make this DIY, you’ll need a candle of your choice, but we recommend a white one so that the temporary tattoos stand out. You’ll also need a sponge and a Bernard Forever temporary tattoo board. In this case, we’ve chosen the gold angle temporary tattoo board.
This DIY consists of 5 steps. The first is to cut out the temporary tattoo of your choice on your board. Next, you need to remove the clear plastic protective film, then position your tattoo in the desired spot on your candle. To carry out step 4, you need to wet your sponge and then apply light pressure to the tattoo with it. Finally, remove the white paper from the back of the tattoo and admire your new candle.
2 – The personalized phone case
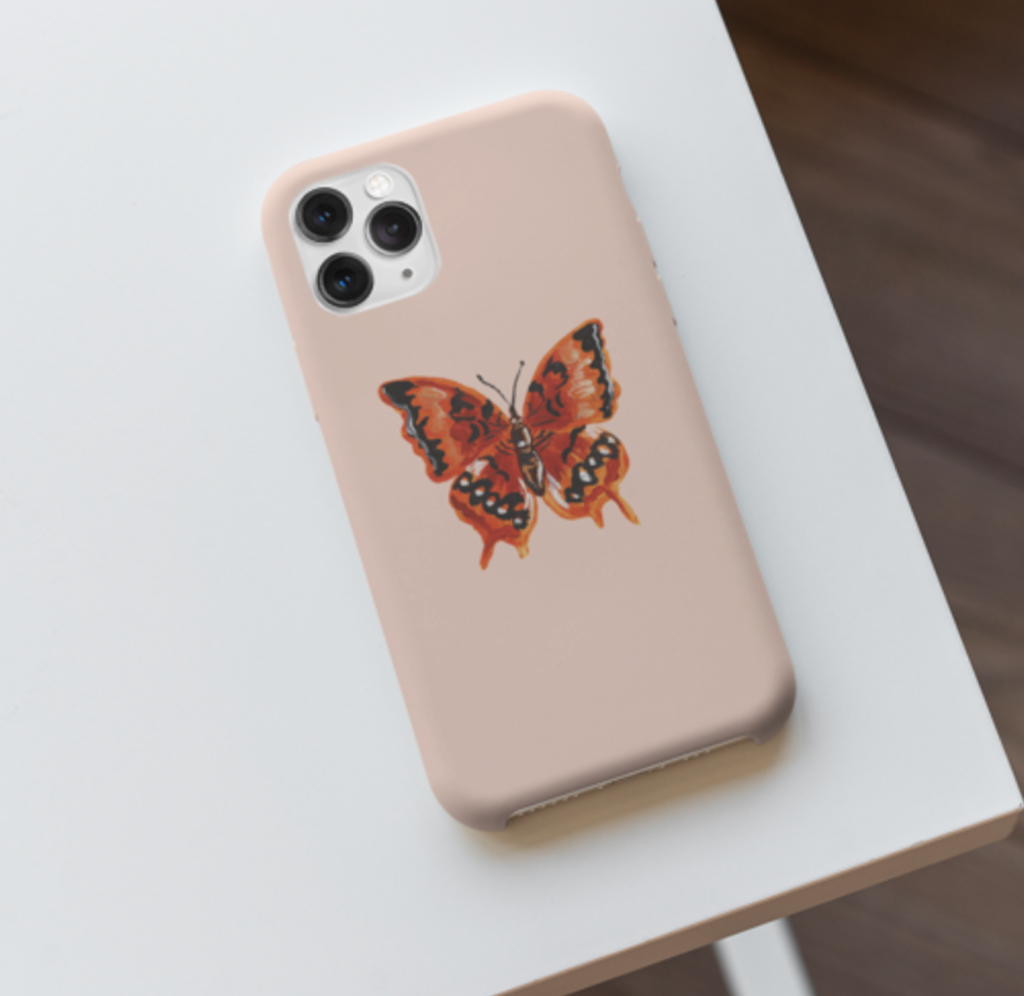
The second DIY project we’re proposing is a personalized phone cover.
If you, too, always want to change your phone cover because you’re always bored with it, Bernard has the solution.
With this DIY, you’ll be able to change your phone’s design at a fraction of the cost.
For this DIY, Bernard offers several versions: the first requires a colored phone case, while the second requires a transparent phone case.
To make the first version of this DIY, you’ll need a phone case – you can of course take an old one of your own – an temporary tattoo board , of course, a sponge and clear varnish.
This DIY consists of 6 steps. The first step involves cutting out the tattoo of your choice from your temporary tattoo board. Then remove the transparent plastic protection film from your tattoo. Then you can position the temporary tattoo wherever you like on your phone case. Be careful, it must be clean and dry. Finally, remove the white paper from the back of the tattoo and apply a coat of clear varnish to your new case to protect it from external knocks.
For the second version of this DIY you’ll need a transparent phone case, a sheet of preferably white paper, a scissor, a tube of glue and a temporary tattoo board.
First, you can cut the sheet of paper to the shape of your hull, making sure to leave a hole for the camera too. Then you can cut out the tattoos of your choice on your board. Finally, all you have to do is stick the tattoos onto the sheet of paper and insert it into your phone shell so that the motifs are visible from the outside. And now you can admire your infinitely customizable case.
3 – New crockery
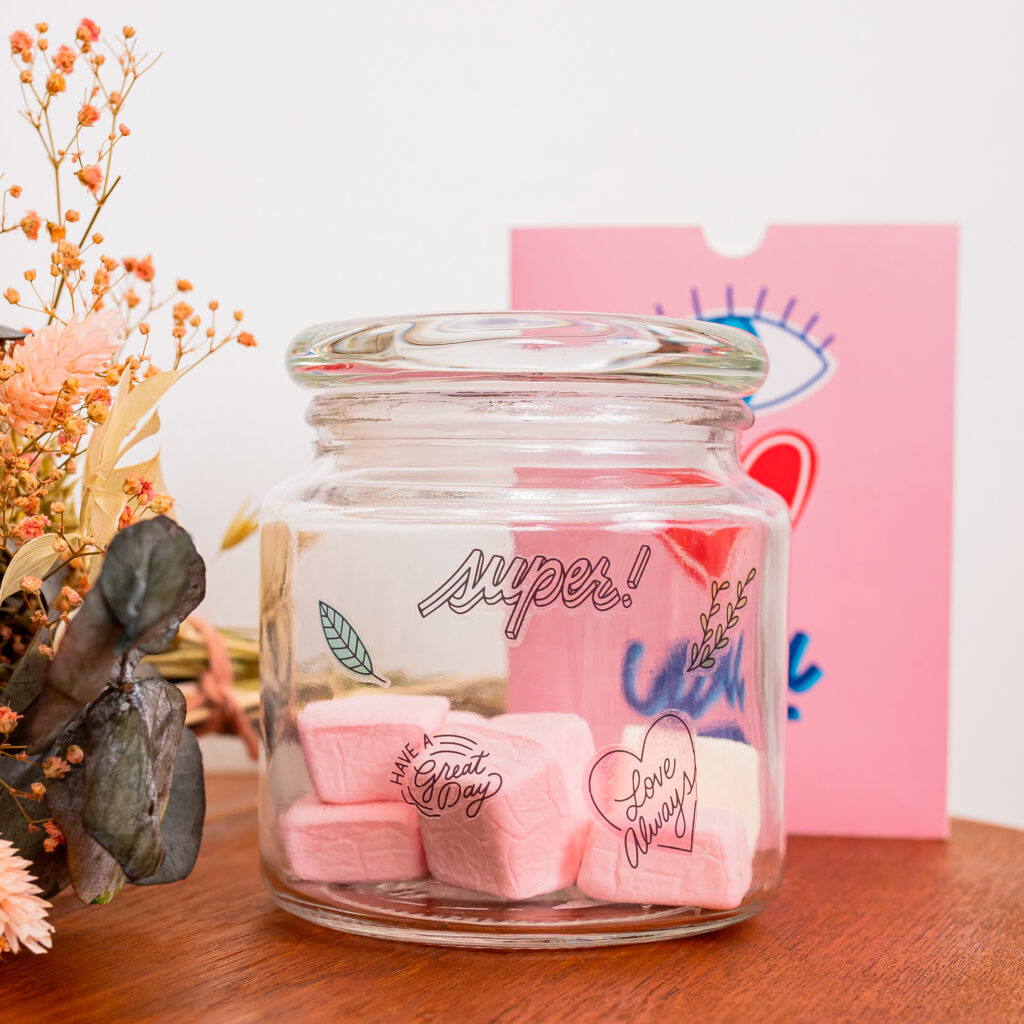
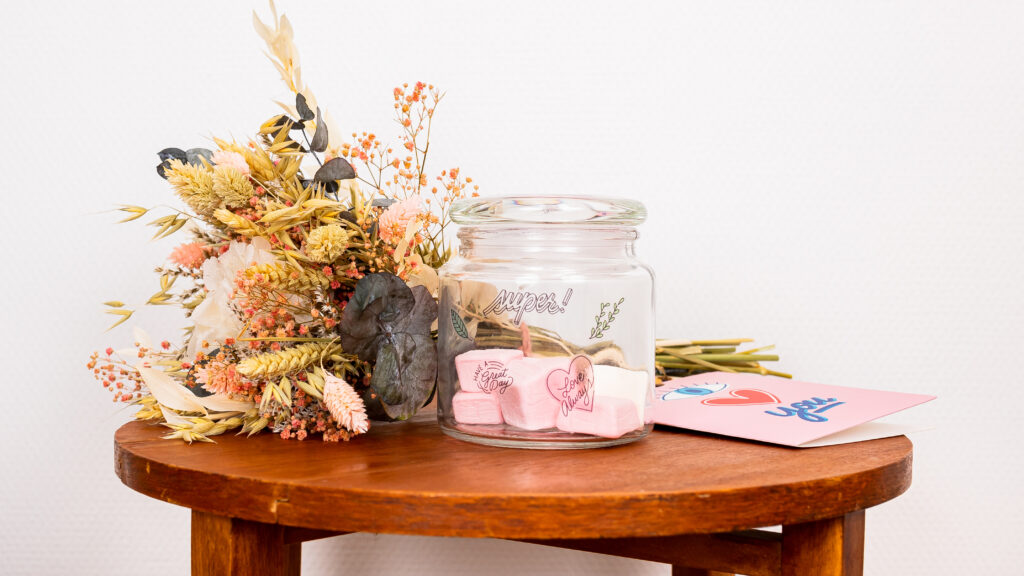
The third DIY concerns your dishes.
If you’re fed up with your plain white plates and want to spice things up a bit, the following DIY will be perfect for you.
With beautiful custom plates, you can be sure that you’ll be motivated to wash the dishes.
To make this do-it-yourself, you’ll need crockery like a plate, a cup or jars, for example. You’ll also need a sponge, clear varnish and a temporary tattoo board(here we’ve chosen the board in collaboration with Studio Jonesie, available in the eye love you tattoo card).
First, cut out the temporary tattoo of your choice from your temporary tattoo board. You can then peel off the transparent plastic film protecting the design and apply it wherever you like on your clean, dry piece of crockery. Next, you’ll need to use the sponge and a little water to adhere the tattoo to your crockery. Finally, all that’s left to do is remove the white paper from the back of the tattoo, apply a coat of clear varnish to your DIY to protect your new crockery and finally display it in your home.
⚠️ This DIY is for decorative purposes only. We recommend that you do not eat or drink from it and that you do not put your pretty china in the dishwasher ⚠️
4 – Unique and original hangers
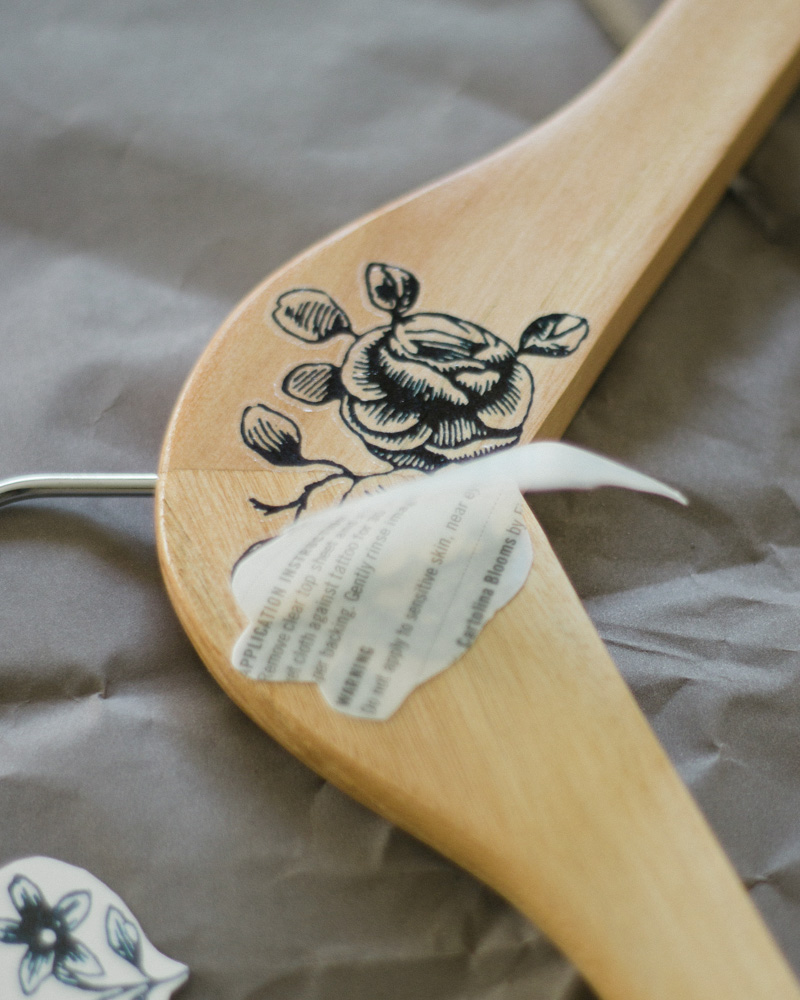
The 4th DIY will give your dressing room a sparkle. As a true fashionista, we imagine that your closet is already filled with colorful clothes, but you want to add even more style to it: personalize your wooden hangers with our tattoos!
To make your own personalized hangers, you’ll need a hanger (preferably wooden, to make the design stick), a sponge, clear varnish and a Bernard Forever tattoo board. We recommend using wild summer, nuoo or monocotyledon boards if you want a flowery effect like the one in the photo.
The tutorial is as follows: first, you cut the temporary tattoo of your choice from your tattoo board. Then remove the transparent plastic film protecting the design and apply the tattoo to the center of the hanger. Once you’ve completed this step, you can adhere the design to the hanger by maintaining light pressure on your tattoo with a damp sponge for a few seconds. The final step is to remove the white paper from the back of the tattoo and apply clear varnish to your hanger to protect it from knocks. You can then replace it in your closet and repeat the operation on all your hangers.
5 – Pretty frames for your photos
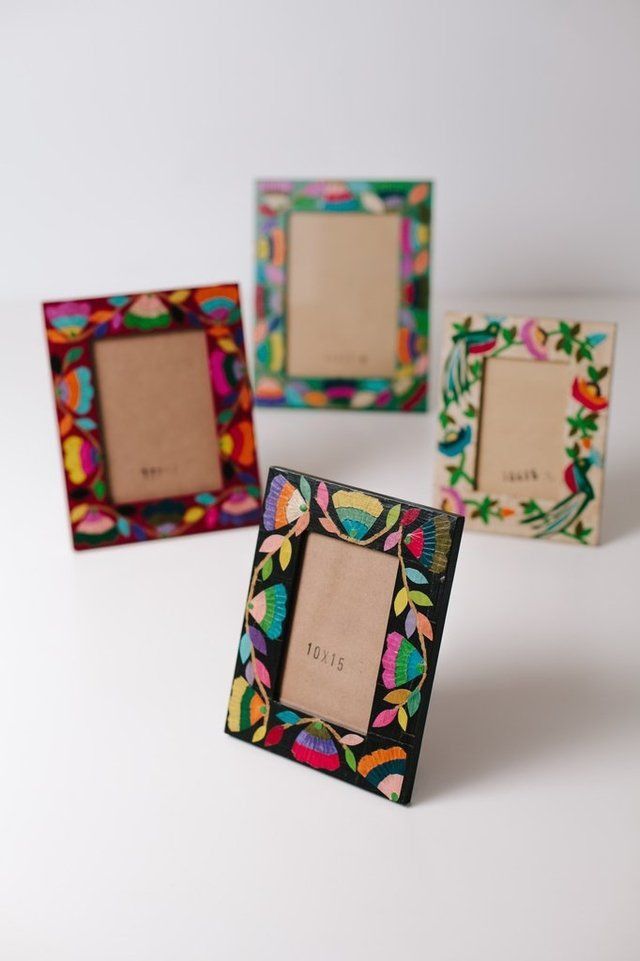
Last but not least, you ‘ll be able to personalize your home decor, especially your walls.
With your personalized frames, you’ll be able to decorate your home the way you like it and frame your most beautiful photos.
To make this DIY, you’ll need a wooden frame, paint, a sponge, clear varnish and a Bernard Forever temporary tattoo board.
To get started, paint the frame in the color of your choice. Once dry, you can cut out your favorite tattoos from your tattoo board and remove the protective plastic film. Then apply the tattoos to your frame, adhering them with your damp sponge. Then remove the white paper from the back of your tattoo and apply the clear varnish to your creation. Finally, all that’s left to do is frame your photos and fix your frames to the wall.
If you reproduce these DIYs with our tattoos, you can show them to us on insta thanks to #bernardforever, Bernard will be delighted.

